 published workflow and click Add Rule. This will open the Rules Wizard.
Note: There is an alternate way to open the Rules Wizard. If you publish using the Publishing Wizard, you will be prompted to create a starting rule. Selecting Yes opens the Rules Wizard.
opening screen, click Next.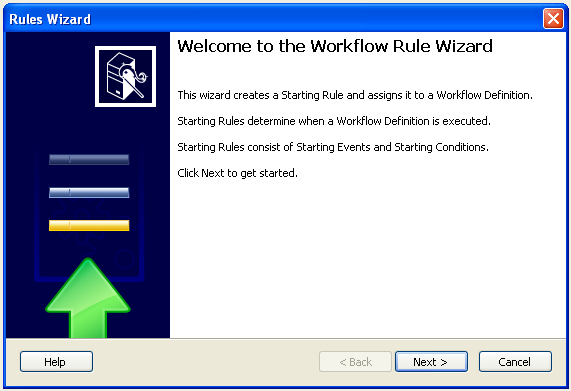
Tip: You can configure this wizard to always skip the opening screen.
Select Starting Event(s) screen, enter a name and description for the starting rule.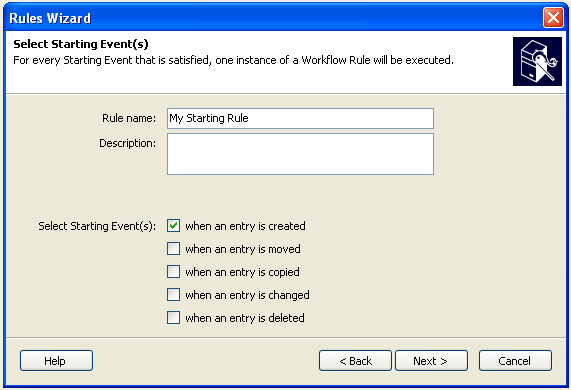
Note: Selecting multiple start conditions may cause more than one instance of the workflow to be run on the same entry.
Optional: On the Assign Starting Condition(s) screen, use the drop-down box in the top right corner to:
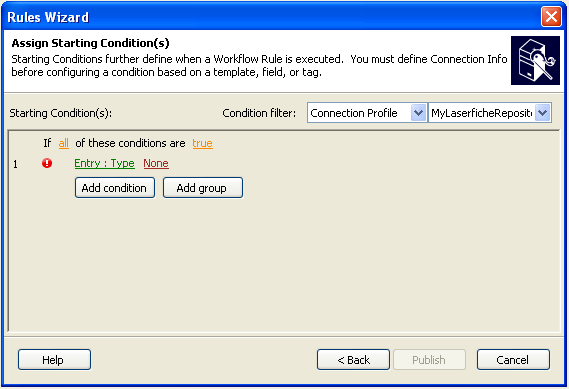
- Specify a connection profile: Only required if you want to assign a condition based on templates, fields, and/or tags.
- Filter which templates, fields, and/or tags are displayed in the condition editor: To only display a specific template, select the template. To only display specific fields and/or tags, enter text to filter by.